The Joyo Tremolo is a "pretty good" tremolo out of the box for under $30, pleasant and traditional tremolo sound. It is also very close to the Demeter Tremulator ($200) and can pretty easily made to sound almost exactly the same.
First a review of the build quality. Everything is PCB mounted except for the footswitch, which is connected on a 6-conductor ribbon cable which is extremely fragile and easy to damage when working the parts around. Be very careful with these tiny wires, they snap almost by themselves.
The PCB is pretty weak, I had several pads lift when re-working parts, so be as gentle as you can when doing the re-work. This is not a pedal to work on over and over, it will fall apart. Like the Behringer and Alesis compressors in some of my recent posts, this is not a product that's been built to last or really even be repaired.
Luckily the enclosure is pretty solid, the jacks are standard quality, not the worst, and the footswitch is a pretty standard 3PDT as well. It seems like if you can get the work done and get it back together, it might last a while.
I really like this after the mods, it sounds exactly like Radiohead stuff with the Tremulator. In my mind this is what a pedal tremolo should ideally sound like--excellent.
This is the video where I got these ideas from:
http://youtu.be/aB5xV99VXKI He also has a square to triangle wave shape pot mod that I skipped. I found one more improvement on his mods as well, he didn't change the rate pot to Demeter value. Without this mod the rate pot has a very bad range.
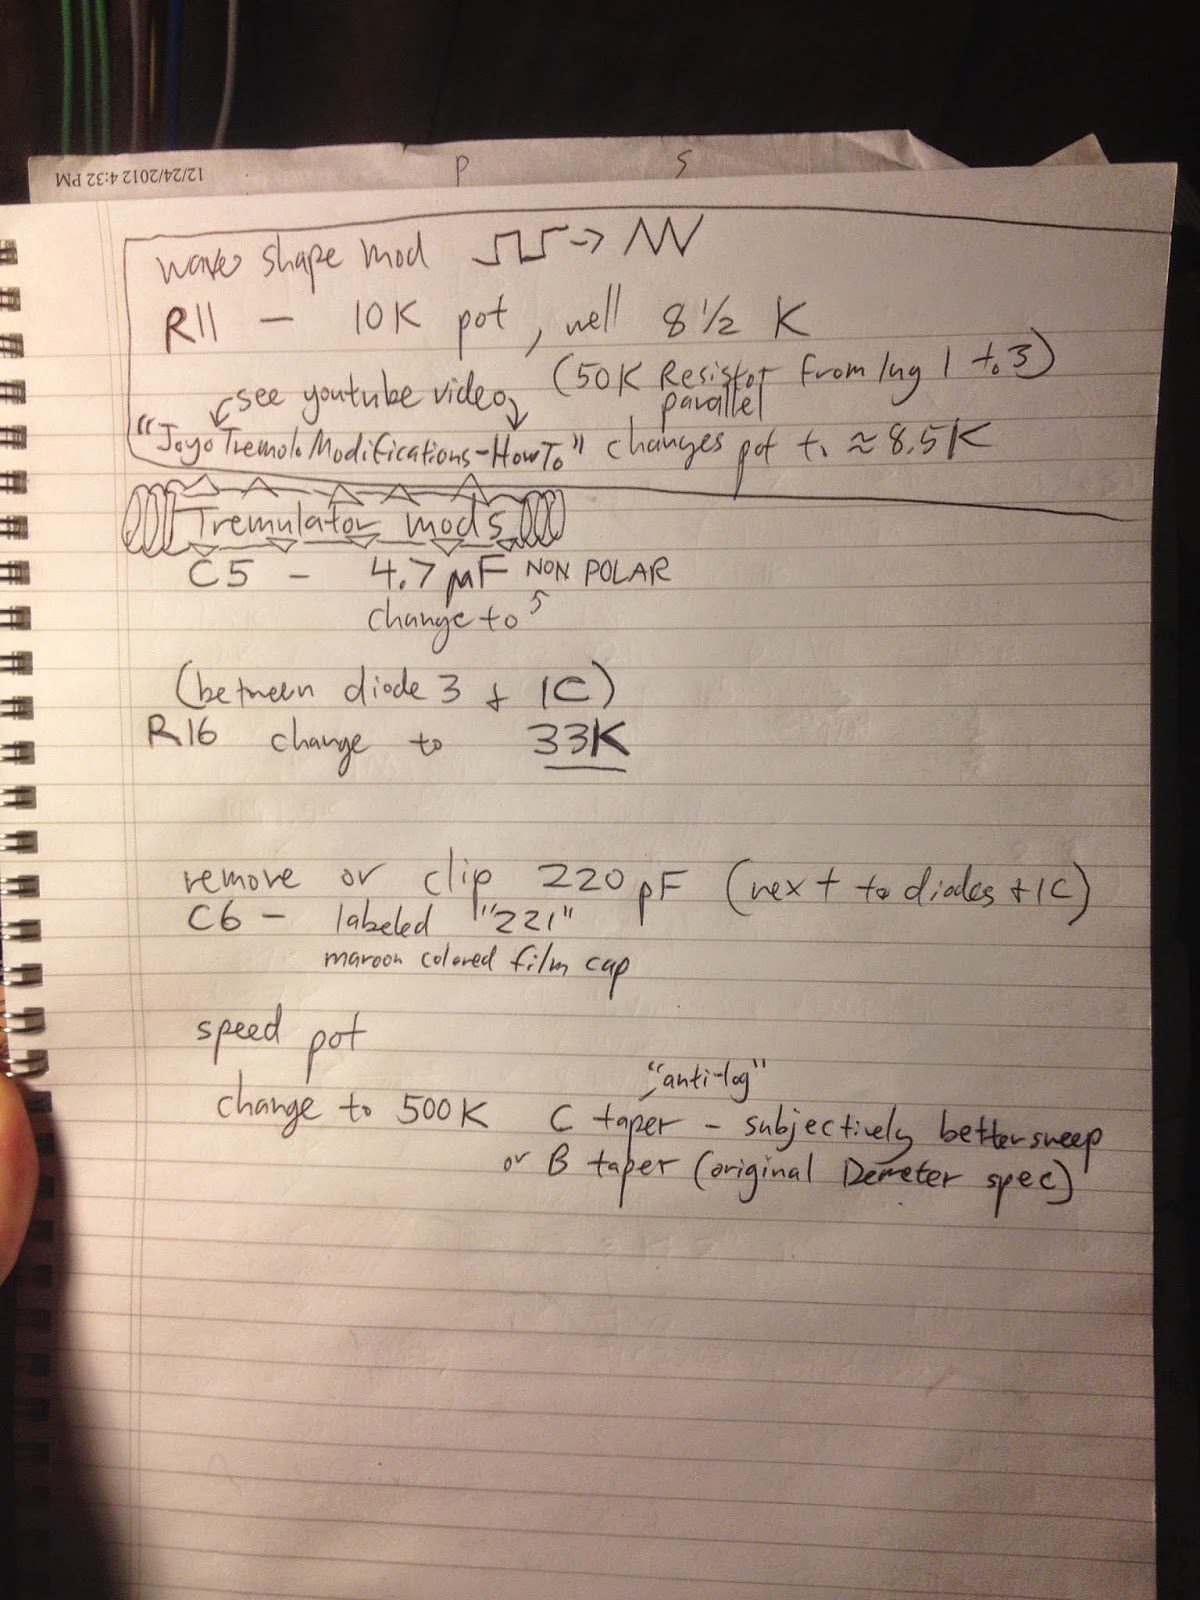
MOD LIST:
C5 - Change to 4.7 uF **non-polar**
R16 - change to 33K
C6 - remove 220pF cap
Rate Pot - change to 500K B or C taper
Optoisolator Bias Trim Pot - adjust to deepest setting for full silence on maximum intensity. Or back it off if you like that gentle sound. I like the dramatic deeper one, sounds more like a Tremulator to me.
R16 is right between diode 3 and the IC next to it.
C6 is the maroon colored film cap code "221" next to the diodes.
C taper, Anti-Log, is a really good sweep on the rate knob. B taper, linear, is Demeter spec and would probably be fine too, I used C. So did Bajaman on his Trembulator.
I also had to drill around the power jack a bit to enlarge the hole since my rate pot was a bit thick and moved things around slightly when reassembled.
And then I put some fancy Demeter/Marshall style knobs, looks great sounds great! I built a Tremulator from scratch, gave it to a friend, have missed it ever since, finally got one back in my collection for minimum investment...very satisfying. And that's a cool mean dog graphic too.


